How To Create Manila Network and Manila User Role
Shared file system is a common area of large external memory to which two or more instances (virtual machines) can have access at the same time. Manila is an OpenStack module that provides infrastructure for that shared file system.
Installing Manila under OpenStack boils down to installing
a new network, predictably called the manila-network,
a new user role, predictably called the manila-user and then
connecting them to the store in an instance.
In this article, the local user created in Prerequisite No. 1, with member role, will write an email to user support and ask them to set up a manila-network and manila-user. The third step, creating the actual shares in the share file system, will be described in Prerequisite No. 2.
What We Are Going To Cover
How to get information relevant to your user account.
How to recognize that the support has finished the task.
What the network looks like with addition of manila-network.
Prerequisites
Step 1 Write Email to Support to Create Manila Network and Manila User Role
To create manila network and manila user you have to send request to Cloudferro support through the following email address:
support@cloudferro.com
For maximum efficiency, use commands Project -> API Access -> View Credentials to see your user name, user ID, project name, and project ID.
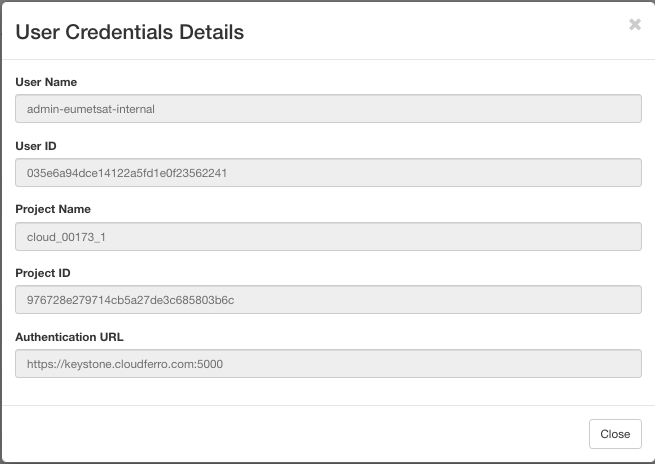
Copy those data as text to the message and send. In subject line put
Please create manila user and manila network
The support will create them for you and send a return message stating so.
Step 2 Verifying That the Request Was Granted
Local user cannot see the roles, only the account holder can. If you, however, signed out from a local user and signed in again as the main user, you would have access to Identity -> Users and there you would see the roles as follows:
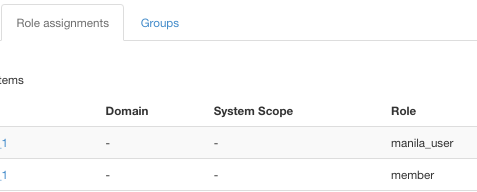
So user admin-eumetsat-internal now can access manila and thus get access to shared file system, but you cannot see it while you are logged in as the local user.
However, have a look at the existing networks, using Project -> Network -> Networks. When you see a manila-network in there, you will know that both the network and new role have been created, and you will be able to proceed.
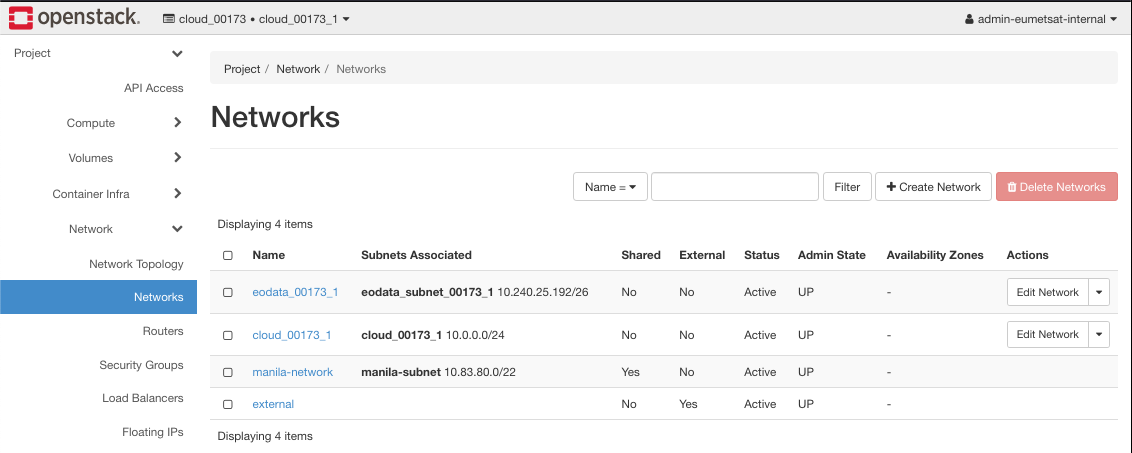
The address of manila-network is 10.83.80.0/22 in this case.
Click on that network name to see more data, in particular, take note of the ID of manila-network as later it will be used in the series of articles on how to install shared file system.
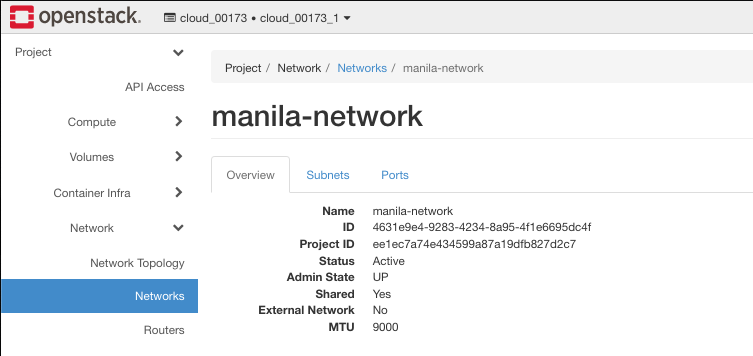
In this case, the manila-network ID is 4631e9e4-9283-4234-8a95-4f1e6695dc4f.
This is the current network topology:
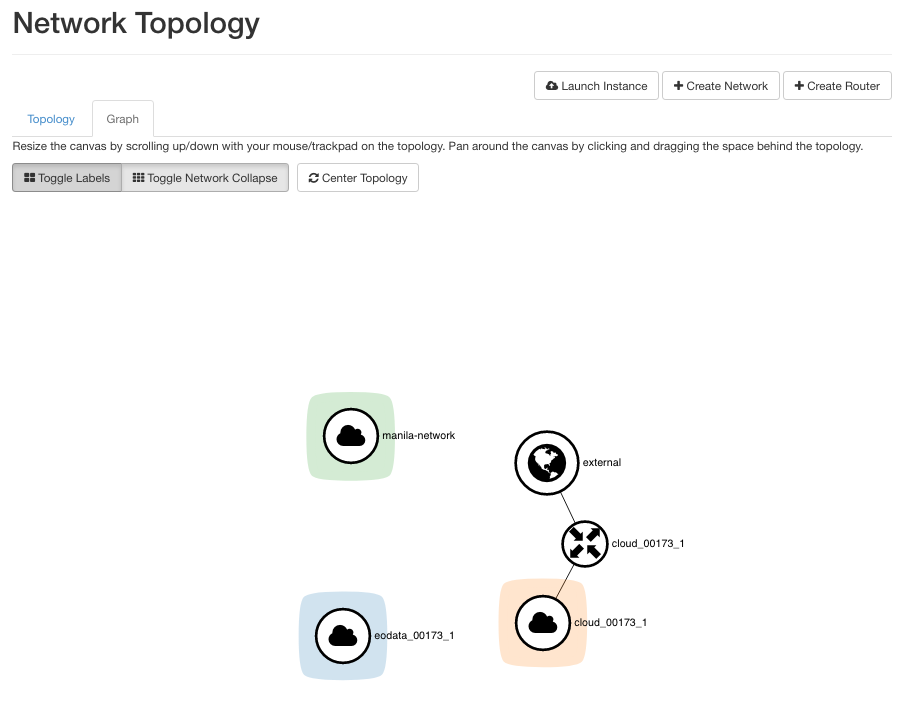
In the articles that follow, you will see how to connect the manila-network and make it work as the part of the shared file system.
In this step, you have obtained the role of manila-user and got access to manila-network.
What To Do Next
The next article in this series, Prerequisite No. 2, will show how to enable command line interface for the local user. Once you can connect via the CLI, you will be able to execute commands that actually create the shared file system.